What is Sysprep and what does it do?
System Preparation Tool (Sysprep), is a Windows utility that is used to prepare a Windows installation for imaging, duplication, and deployment. Its primary purpose is to generalize a Windows installation by removing system-specific information, such as the computer’s security identifier (SID), so that the operating system can be safely duplicated and deployed to multiple machines. Sysprep is most frequently used in virtualized environments to prepare a system image which will be cloned multiple times.
How to use Sysprep
Let’s start with an example.
Step 1: Prepare the Reference Computer
Before running Sysprep, it’s important to configure the Windows installation the way you want it on the target systems. In this example, we use a Virtual Machine (VM) running Window 11 Pro, Version 23H2 as a reference machine. This reference VM has:
- Clean windows installation, Windows 11 Pro Evaluation, Version 23H2.
- All drivers updated.
- All Software updated: In this example this VM has Google Chrome and Adobe Reader installed.
- Customize Settings: In this example, we set the UAC (User Account Control Settings) to Never notify
Below are screenshots of the reference VM

Step 2: Run Sysprep
Locate Sysprep: Sysprep is typically located in C:\Windows\System32\Sysprep. Open this directory.
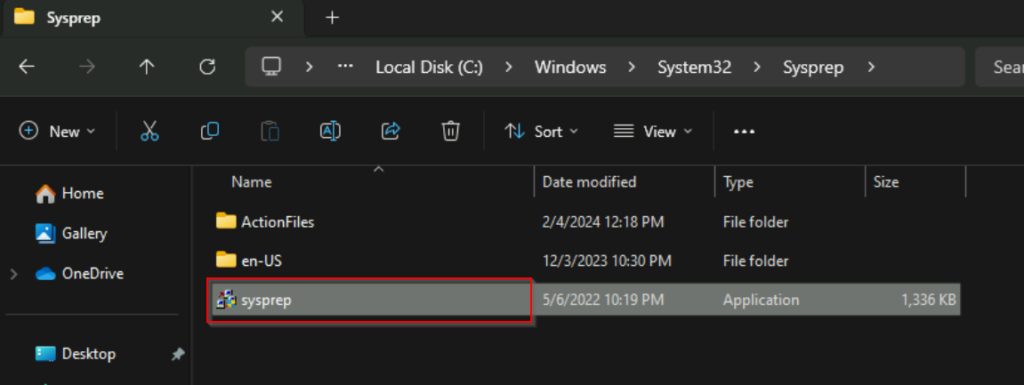
Run Sysprep: Double-click on sysprep.exe to launch the Sysprep tool.
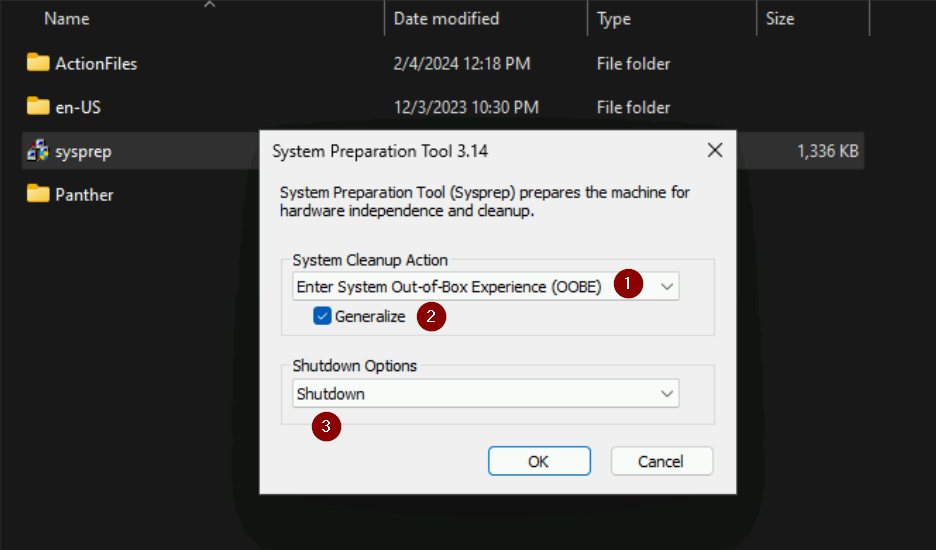
- Choose System Cleanup Action: In the Sysprep dialog, select the “Enter System Out-of-Box Experience (OOBE)” option. This prepares the system for the first boot experience.
- Select Generalize: Check the “Generalize” option. This removes system-specific information such as the computer security identifier (SID), making the Windows installation hardware-independent.
- Choose Shutdown Options: Choose the “Shutdown” option if you plan to capture an image for deployment later. If you’re deploying immediately, you might select “Restart.”. We choose Shutdown option.
Optionally, you can use command line to run the Sysprep. First, open cmd as Administrator and type:
cd \Windows\System32\Sysprep
sysprep.exe /generalize /oobe /shutdown /mode:vm
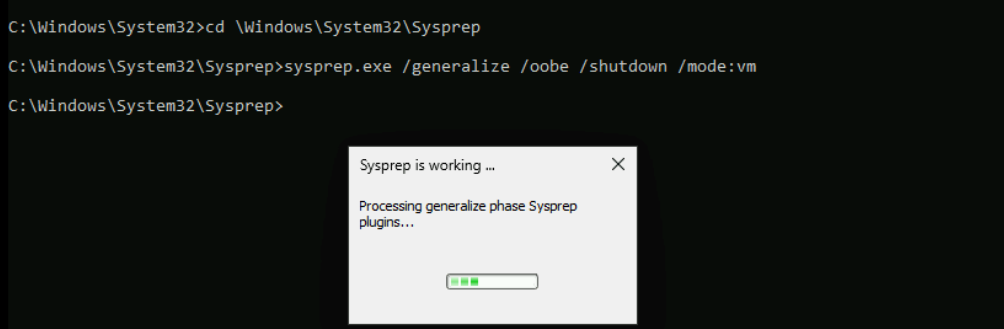
You need to wait while the Sysprep is working.

After Sysprep finish generalizing, the system will shutdown. Please note that avoid turning on the reference computer until you’re prepared to capture an image.
Step 3: Capture and Deploy the Image
There are many way to perform in this step. Also, it will depend on whether the user is using a physical machine or a virtual machine:
Scenario 1: Physical Machine
Boot into Windows PE (Preinstallation Environment): You can create a bootable USB drive or other installation media to boot the machine into Windows PE.
Capture the Image: Use a tool like DISM (Deployment Image Service and Management Tool) to capture the system image. You can use a command like:
Dism /Capture-Image /ImageFile:D:\YourImagePath\YourImageName.wim /CaptureDir:C:\ /Name:”Your Image Name”
- D:\YourImagePath\YourImageName.wim : Specify the path and name for the captured image.
- C:\ : Replace with the drive where your Windows installation is located.
Deploy the Captured Image: You can deploy the captured image to other machines using tools like WDS (Windows Deployment Services) or third-party imaging solutions. After deploying the image, the new machines will boot into the Out-of-Box Experience (OOBE), where users will set up their Windows environment.
We will have an in depth guide about Capture and Deploy Image for this Scenario 1 in the next blog. Also, you can refer to this Microsoft Documentation to learn more about Sysprep.
For now, this blog will focus on Scenario 2.
Scenario 2: Virtual Machine
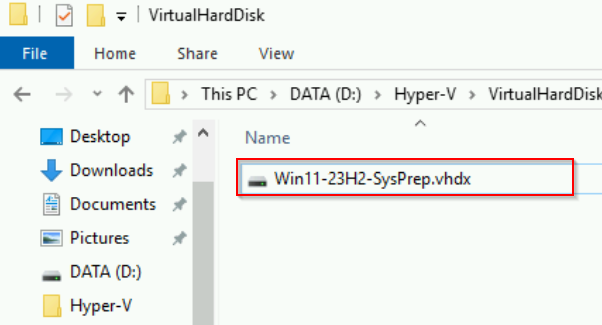
Copy the VHDX File: After running Sysprep on the original VM, now we will locate the VHDX file of the original VM and make a copy. In this case, we named it Win11-23H2-Sysprep.vhdx
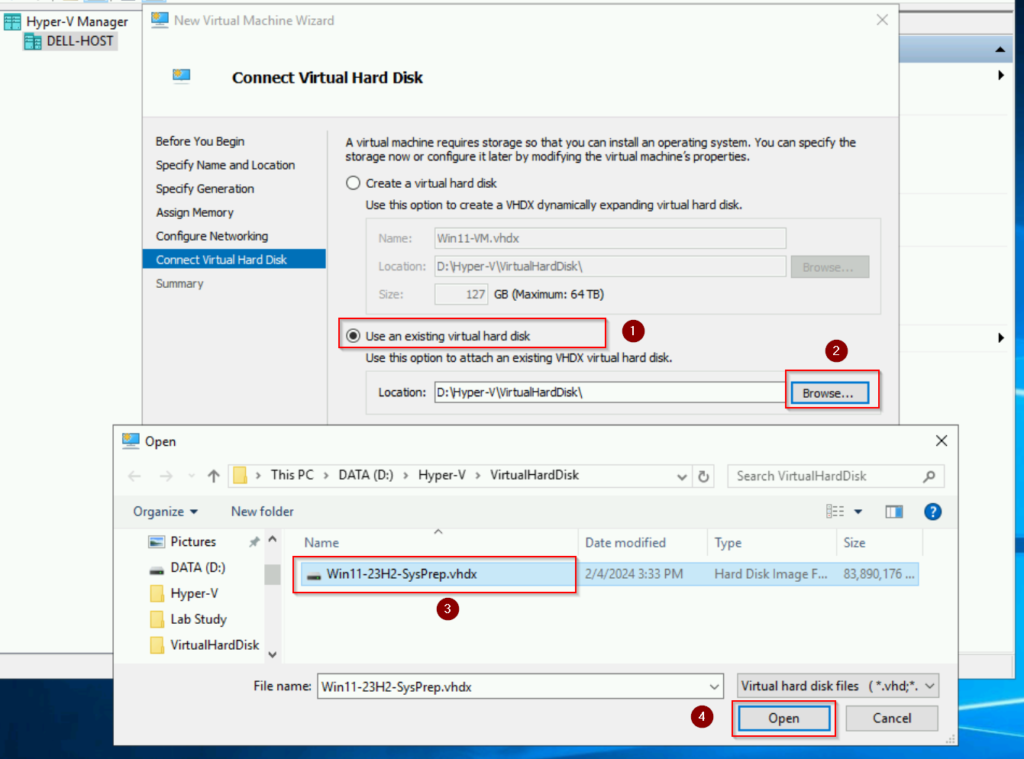
Create a New VM: In my Hyper-V Manager, create a new virtual machine and specify to use an existing VHDX file for the virtual machine’s storage.
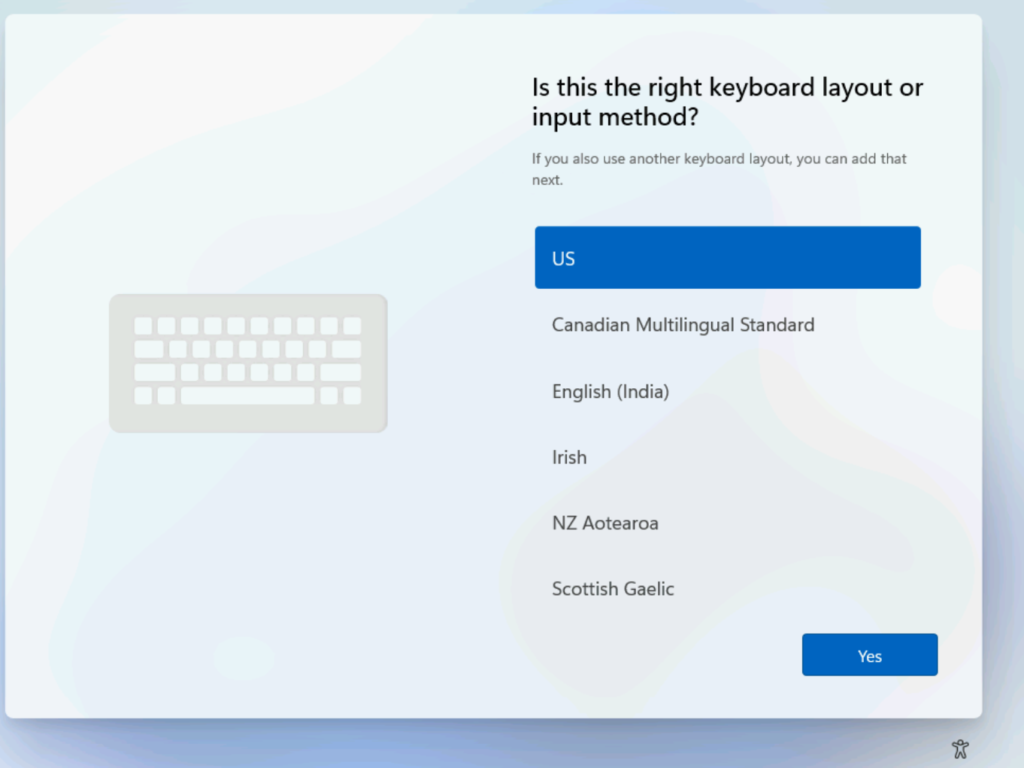
Start the New VM: Start the new VM. It will boot from the copied VHDX file and go through the Out-of-Box Experience (OOBE), allowing you to set up the new virtual machine.
Once we are on the desktop, notice that Adobe Reader and Google Chrome are installed and ready to use, just like the Reference Machine.

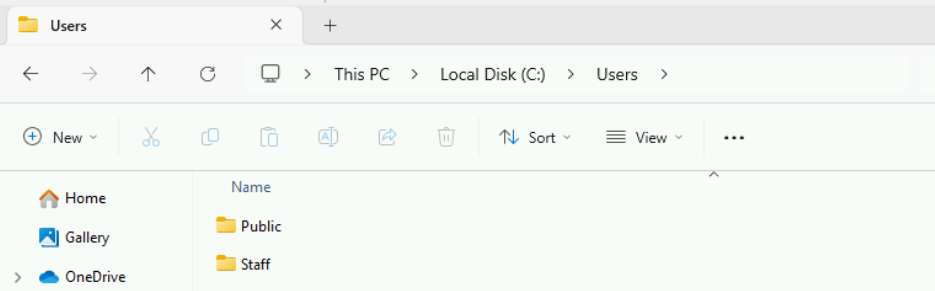
However, notice that the reference PC we used ealier for sysprep, the user account name “staff”. When we create a new VM and attach the VHDX, in the OOBE process , it not allow us to use “staff” again, we have to create a different user account named “staff2”

This happens becuase during the Out-of-Box Experience (OOBE) process, Windows generates a unique Security Identifier (SID) for each installation. This SID is crucial for maintaining the security and integrity of the Windows operating system. If you attempt to create a new virtual machine (VM) by attaching the same virtual hard disk (VHDX) from a Sysprepped VM, Windows recognizes that the SID has already been used and prevents you from creating a user account with the same name.
To overcome this issue, we should create an Unattend.xml file during the Sysprep process. In the Unattend.xml file, you can specify the desired user account, among other configurations. In the example we just did, the absence of an Unattend.xml file can lead to the duplication of certain user-related information, including the username, which might cause issues during the OOBE process of a newly deployed virtual machine
In the next blog, we will learn how to Sysprep a system using Unattend.xml file.
Notes
First, be aware that deploying the image to a new PC may trigger reactivation prompts for some applications:
- OEM Activation: If the reference computer uses OEM (Original Equipment Manufacturer) activation, the activation status is often tied to the hardware of that specific machine. In this case, deploying the image to other computers may not preserve the activation status, and you might need to reactivate Windows on each deployed machine.
- Volume Licensing (VL) Activation: If the reference computer is activated using a Volume License Key (VL), the activation status can be preserved in the deployed image. This is because VL activation is designed for multiple deployments across different machines. However, it’s crucial to ensure compliance with the licensing terms associated with your Volume License Agreement.
Second, the file format of the captured image depends on the imaging tool you are using. Different imaging tools may use different file formats:
- WIM (Windows Imaging Format): a file-based disk image format developed by Microsoft. It is commonly used with tools like Windows Deployment Services (WDS) and the Microsoft Deployment Toolkit (MDT). WIM files can store multiple images and support features like compression.
- ISO (Disk Image): A disk image format. While it’s often associated with creating bootable installation media, it can also be used to capture and store disk images. Tools like Rufus or ImgBurn can work with ISO images.
- VHD (Virtual Hard Disk): a file format commonly associated with virtual machines. Some imaging tools allow you to capture and store images in VHD format. This can be useful for virtualization environments.
Conclusion
In summary, we have covered how to Sysprep Windows 11, 23H2 version in a virtual environment. Basically it involves Preparing reference machines, Run Sysprep, Capture and Deploy the Image. Moreover, one thing to note is that using an Unattend.xml file allows you to have greater control over the settings applied during the OOBE phase, including the creation of user accounts.