Introduction
Windows Admin Center (WAC) is a powerful, web-based management tool designed to simplify and enhance the administration of Windows Server environments. It provides an interface for managing servers, clusters, and hyper-converged infrastructure, all from a single location.
In this guide, we’ll walk you through the installation process for Windows Admin Center on Windows Server, covering everything from initial setup to configuration.
Server Manager vs. Windows Admin Center
When it comes to managing Windows Server environments, both Server Manager and Windows Admin Center (WAC) offer powerful tools, but they serve different purposes and provide distinct advantages.
Server Manager
Server Manager has been the primary tool for managing server roles and features. It provides a centralized dashboard for installing and configuring server roles, monitoring server performance, and managing local and remote servers. Its strengths lie in its direct integration with Windows Server and its ability to manage multiple servers from a single console. However, Server Manager can be limited in functionality when dealing with complex or large-scale environments.
Windows Admin Center
Windows Admin Center represents a more modern approach to server management, offering a comprehensive web-based interface that goes beyond the capabilities of Server Manager. WAC allows administrators to manage servers, clusters, and hyper-converged infrastructure through a single, unified console accessible from any web browser.
WAC also provides advanced features like real-time monitoring, in-depth diagnostics, and seamless integration with Azure services. Additionally, WAC supports management of both physical and virtual environments, making it a versatile choice for diverse IT infrastructures.
In short, Windows Admin Center provides a more advanced, flexible, and comprehensive solution for modern IT environments.
Installation Options and Types
Windows Admin Center (WAC) offers flexibility in its installation, allowing you to choose the best setup for your environment. Understanding the available options and types will help you select the most appropriate configuration for your needs.
Installation Options
- Install on Windows Server: This is the most common approach, particularly for organizations that need centralized management of Windows Server instances. Installing WAC on a Windows Server provides a dedicated management platform, ideal for handling multiple servers and complex environments.
- Install on Windows 10: For smaller environments or individual administrators, WAC can be installed on a Windows 10 machine. This setup allows for management tasks from a client machine and is useful when a dedicated server is not available.
- Azure VM Installation: WAC can also be installed on an Azure virtual machine. This option is beneficial for cloud-based environments, enabling management of both on-premises and cloud resources from a single interface.
Installation Types
- Local Client: This type involves installing WAC on a local machine, such as a Windows 10 or Windows Server. It is suitable for individual administrators or smaller environments where a dedicated management server is not required.
- Gateway Server: Installing WAC as a Gateway Server means setting it up on a Windows Server to act as a centralized management point. This configuration is ideal for larger environments, providing a single interface for managing multiple servers and clusters.
- Managed Server: In this setup, WAC is installed on a server that is also managed through WAC. This approach simplifies management by using the same server for both hosting and managing, though it may not be suitable for high-availability scenarios.
- Failover Cluster: For high availability and fault tolerance, WAC can be set up in a failover cluster configuration. This ensures continuous access to the management interface by providing redundancy and resilience in case of node failures.
Check out this link from Microsoft documentation to learn more abut Installation types.
In this guide, we’ll focus on installing Windows Admin Center as a Gateway Server on a Windows Server, a robust and scalable solution for centralized management in diverse IT environments.
Note
It’s generally recommended to install Windows Admin Center on a Windows Server that is joined to the domain but is not a domain controller. This approach ensures that WAC has the necessary domain credentials and access to manage other domain-joined servers while avoiding potential security and performance issues that might arise from installing it directly on a domain controller.
You can still install WAC on a standalone server. This can be useful for lab setups, non-production environments, like in this guide.
Step-by-Step Installation
Download Windows Admin Center
- Visit official website: visit this link to download the installer
- Choose the Version: Ensure you download the version compatible with your server’s operating system. Check the release notes if you’re unsure which version to choose.
Prepare Your Server
- Update Windows Server: Before installing, make sure your Windows Server is up to date with the latest patches and updates. This can be done via Windows Update or by using WSUS (Windows Server Update Services) if it’s configured in your environment.
- Check System Requirements: Verify that your server meets the minimum hardware and software requirements for Windows Admin Center. Ensure that necessary components like the .NET Framework are installed.
Run the Installer
Double-click the installer to begin the installation process. If prompted by User Account Control (UAC), click “Yes” to allow the installer to run. Follow the Setup Wizard:
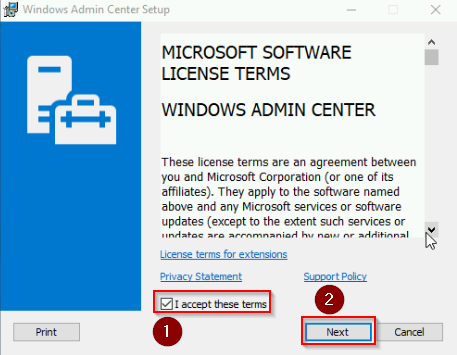
Accept the License Agreement: Read through the license terms and accept them to proceed.
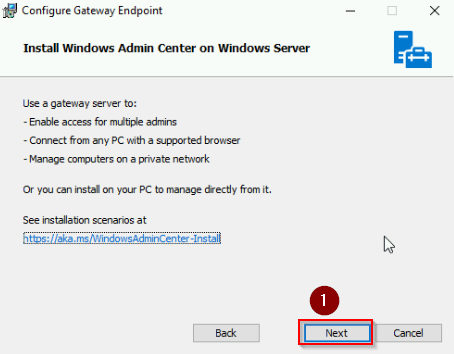
Select Installation Type: Choose the “Gateway Server” installation type, as this guide focuses on setting up WAC on a Windows Server for centralized management.
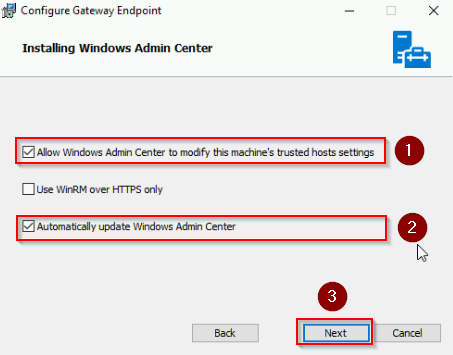
Specify the Port and SSL Certificate: You can use the default port 443 (HTTPS) or choose a custom port. For production environments, it’s recommended to use an SSL certificate from a trusted Certificate Authority (CA). If you don’t have one, you can generate a self-signed certificate for testing purposes.
Complete the Installation: Click “Install” to start the installation. The process may take a few minutes.
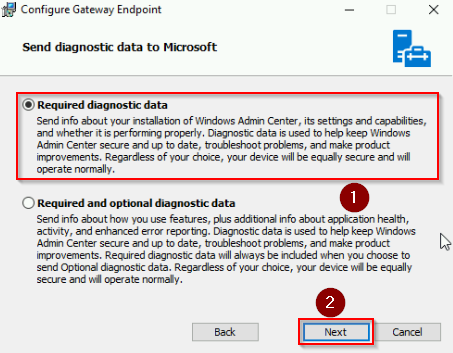
See screenshots below:
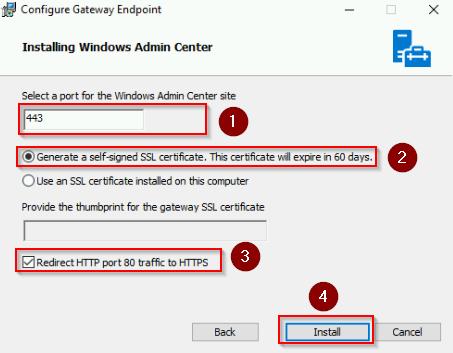
Another important point to consider is the use of a self-signed SSL certificate when setting up Windows Admin Center (WAC). If you opt for a self-signed certificate, be aware that it will expire in 60 days. Additionally, because the certificate is self-signed by the machine where WAC is installed, other machines on the network will not automatically trust it. This will result in a warning when you try to connect to the WAC site from another device.
In a production environment, it’s recommended to use a certificate issued by a trusted Certificate Authority (CA) on your network. This ensures that the certificate is recognized and trusted by all machines, providing a more secure and seamless experience.
Configure Windows Admin Center
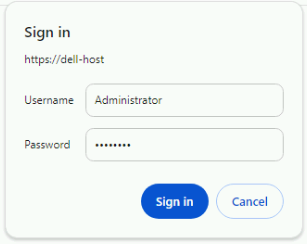
After installation, WAC will launch automatically in your default web browser. You’ll be prompted to complete the initial configuration.
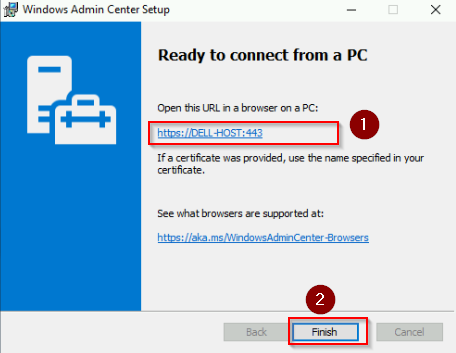
If you want to access WAC later, open your browser and navigate to the server’s address, followed by the chosen port number.
Let’s do some basic configurations for this lab:
Adding Extensions
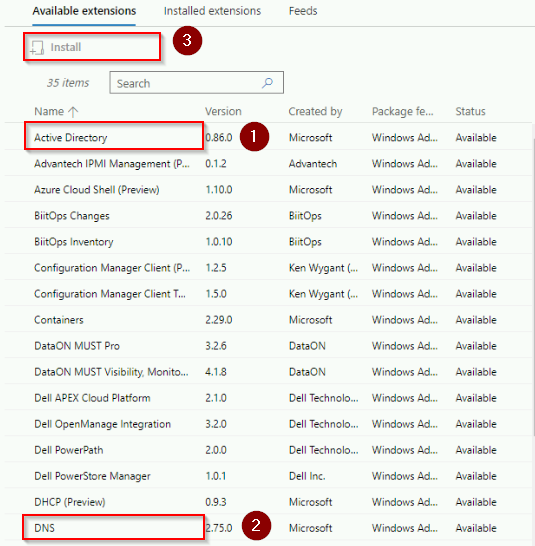
You can install extensions to extend capabilities of Windows Admin Center (WAC). We will install Active Directory and DNS extensions :
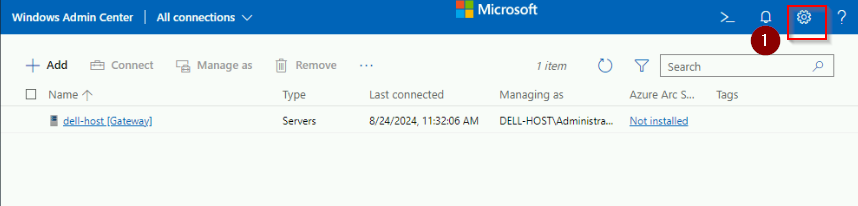
- Click the Settings icon (gear icon) on the top right corner of the WAC dashboard.
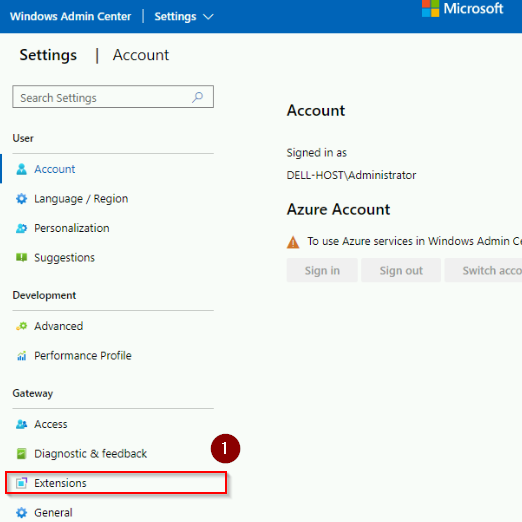
- In the left menu, select Extensions.
- In the Available extensions tab, use the search bar to locate the Active Directory and DNS extensions.
- Click Install for each extension to add them to your WAC environment.
See screenshots below:
After installation, return to the Dashboard, select the server you want to manage (dell-host). Under Tools, you’ll now see Active Directory and DNS listed.
Adding Servers
When adding servers to Windows Admin Center (WAC), the servers do not necessarily need to be joined to the same domain, but they do need to be accessible over the network. For instance, servers could be within the same network segment, connected through VPN. Here are the different scenarios:
- Domain-Joined servers: If both the Windows Admin Center gateway server and the target servers are joined to the same domain, WAC can leverage Active Directory for seamless authentication and management
- Workgroup or Standalone servers: If the servers are not joined to a domain, you’ll need to provide the local administrator credentials for each server. Additionally, you might need to configure the server’s firewall and enable certain remote management protocols (like WinRM) to allow WAC to connect and manage them.
- Cross-Domain or Hybrid environment: If servers are part of different domains or a mix of on-premises and cloud-based (e.g., Azure), you can still manage them with WAC as long as network connectivity is established and the necessary credentials are provided.
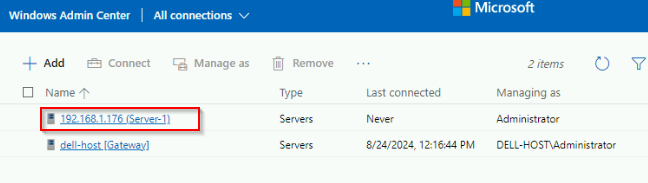
In this lab example, we are at the scenario where we will add a standalone VM.
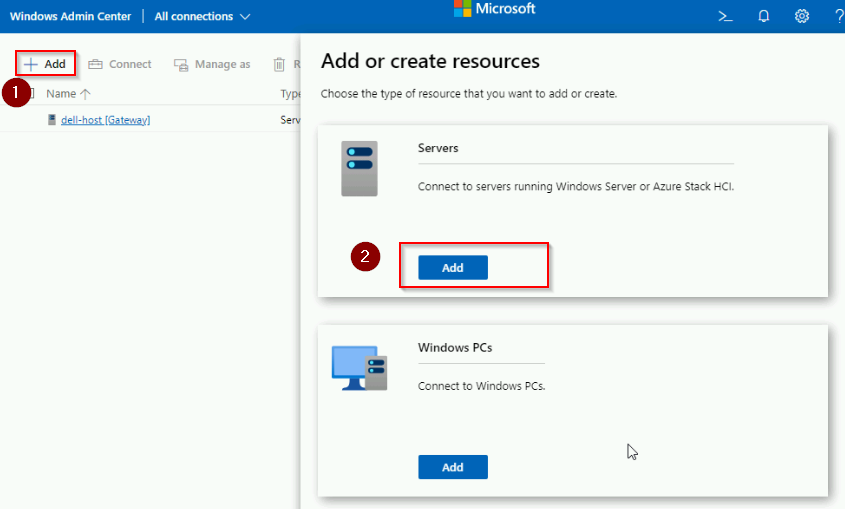
Now let’s start managing your servers by adding them to WAC.
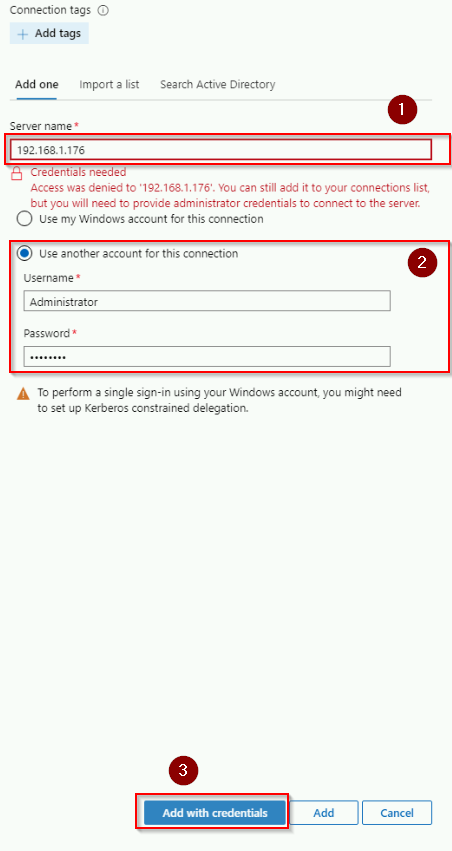
- Click on “Add” and enter the names or IP addresses of the servers you want to manage. You can also group servers by roles or functions for easier management. Since it is a standalone server, you will need to use the server IP address.
- Choose “Use another account for this connection” to specify the credentials.
- Enter the local administrator credentials for Server-1 (the username and password you use to log in to the server).
See screenshots below:
Conclusion
Windows Admin Center provides a powerful, centralized interface for managing your Windows Servers, whether they are domain-joined or standalone. By following the steps outlined in this guide, you can easily install WAC and extend its capabilities to effectively manage your infrastructure, ensuring a more streamlined and secure server environment.