Introduction
In this article, we will be customizing the Deployment Share with Rules and Bootstrap.ini. By doing so, it gives you greater control over the deployment process to suite your organization’s needs, leading to faster, more efficient and error-free deployment.
Before dive in, check out this post if you want to learn how to setup a MDT environment from scratch.
Let’s get started!
Rules vs Bootstrap.ini
Both the Rules tab and the Bootstrap.ini file are used for customizing deployment settings in MDT, they serve different purposes and are used at different stages of the deployment process. You can access Rules and Booststrap.ini under MDT Deployment Share Properties.
Rule tab
The Rule tab is used for defining general deployment settings and rules within the Deployment Workbench interface. More specifically, you can specify various settings related to deployment behavior, such as skipping certain steps, specifying default values for prompts, defining custom properties, and more.
Bootstrap.ini File
Bootstrap.ini File is used for configuring settings related to the WinPE environment during the initial bootstrap process. For instance, you can specify the deployment share location, credentials for accessing network shares, and other pre-execution environment settings.
Example
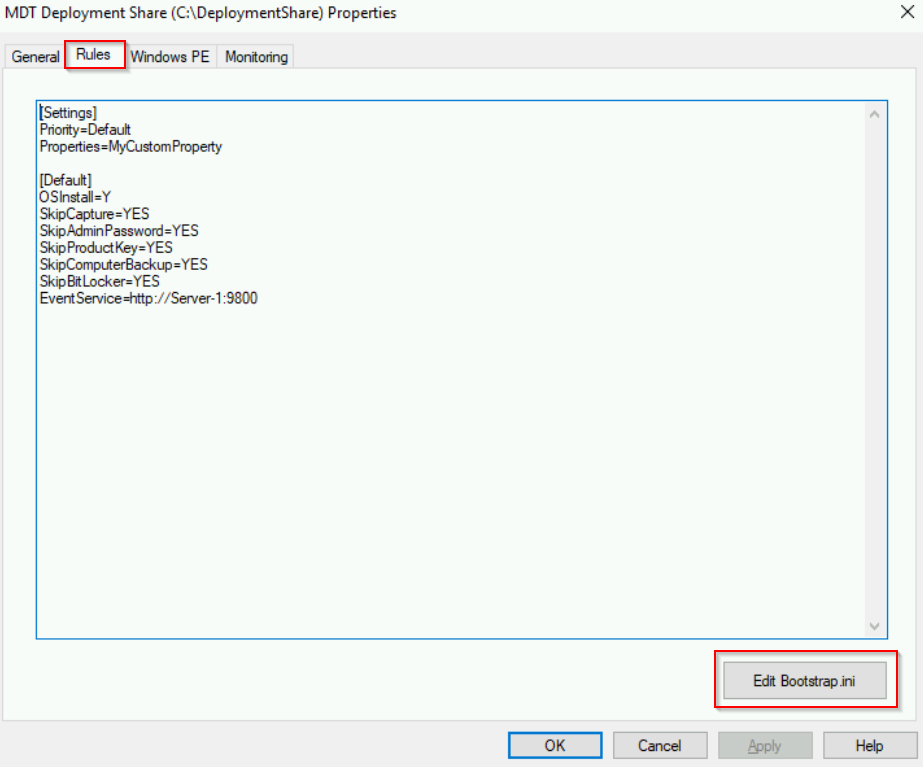
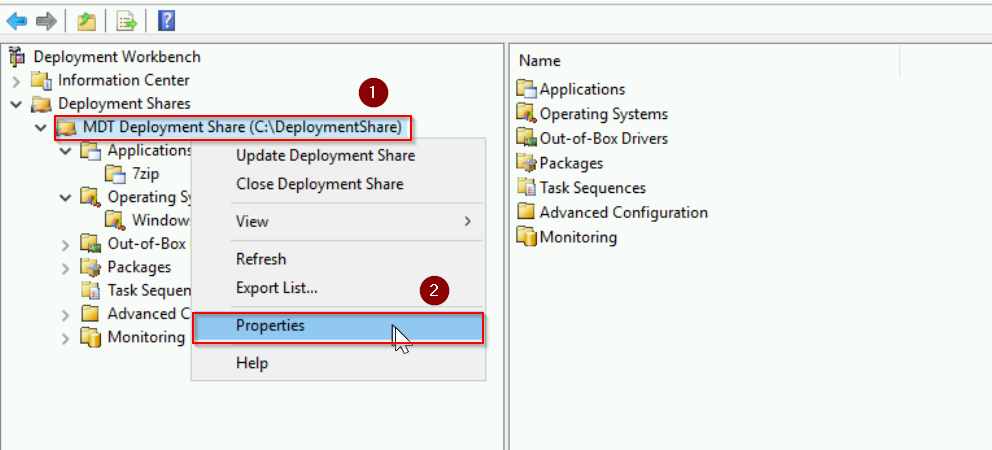
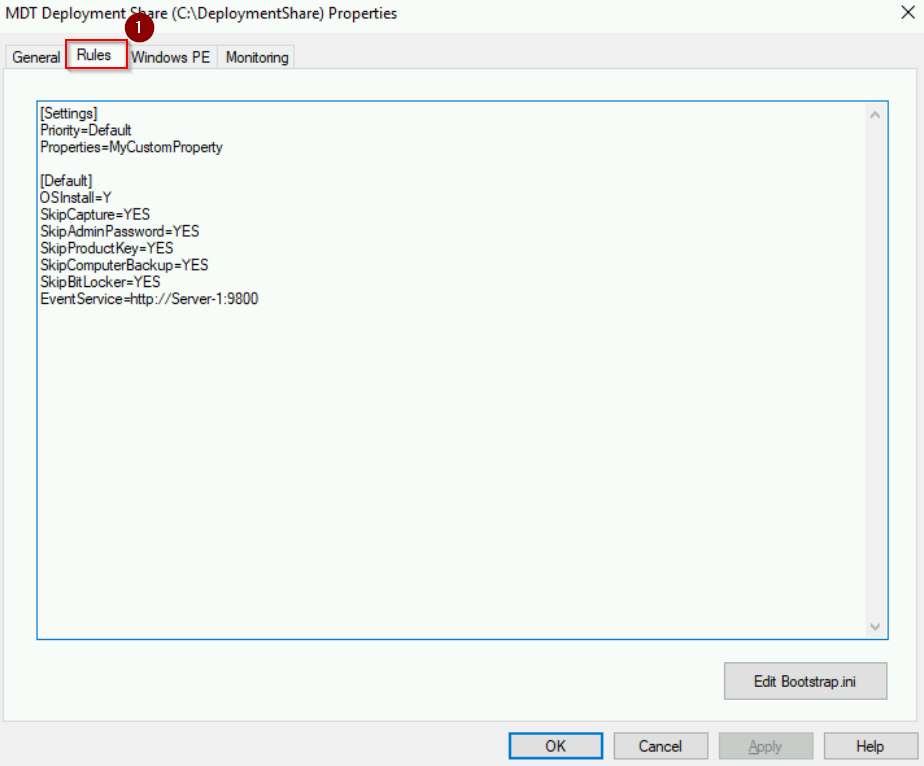
Fist of all, go to MDT Deployment Share: Right click “MDT Deployment Share” > “Properties” > “Rules“
Customizing the Bootstrap.ini
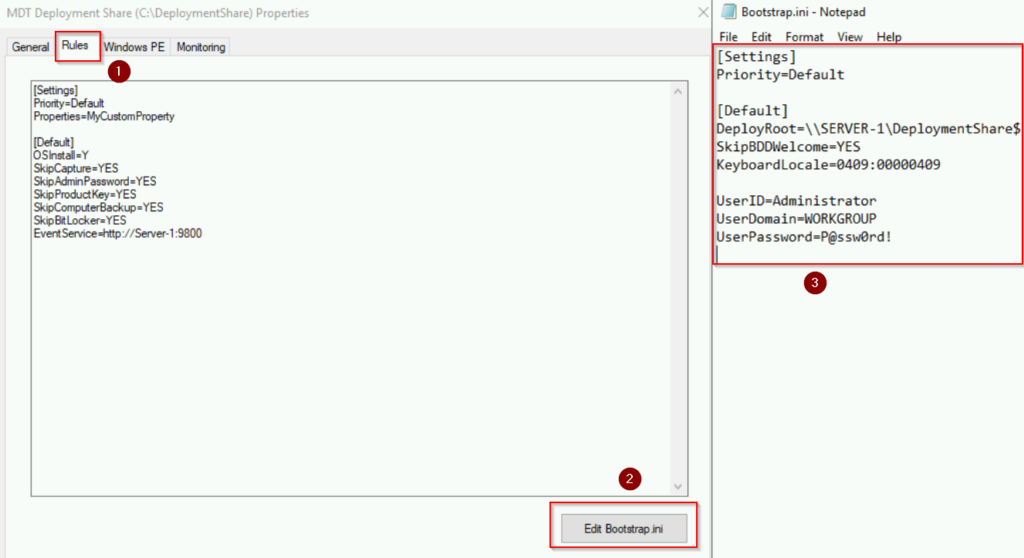
We will edit the Bootstrap.ini file like below:
[Settings]
Priority=Default

[Default]
DeployRoot=\\SERVER-1\DeploymentShare$
SkipBDDWelcome=YES
KeyboardLocale=0409:00000409

UserID=Administrator
UserDomain=WORKGROUP
UserPassword=P@ssw0rd!
- [Settings] : This section header indicates the beginning of the settings section in the Bootstrap.ini file.
- Priority=Default: Specifies the priority level for the settings defined in the Bootstrap.ini file. In this case, it’s set to “Default,” meaning these settings will be applied unless overridden by more specific settings defined in other sections.
- [Default] : This section header defines default settings that will apply to all deployments, unless overridden by more specific settings in other sections.
- DeployRoot: Specifies the network path to the deployment share where installation files and resources are stored. In this example, it’s set to “\\SERVER-1\DeploymentShare$”.
- SkipBDDWelcome: By setting to “YES”, it will skip the welcome screen during deployment.
- KeyboardLocale: Specifies the keyboard locale to use during deployment. In this case, “0409:00000409” represents the locale identifier (LCID) for the English (United States) keyboard layout.
- UserID: Specifies the username to use for accessing network shares during deployment. In this case, it’s set to “Administrator.”.
- UserDomain: Specifies the domain or workgroup to which the user belongs. In this case, it’s set to “WORKGROUP.”.
- UserPassword: pecifies the password for the specified user account. It’s important to note that storing passwords in clear text in configuration files like this may pose security risks. In this example, we set to “P@ssw0rd!”.
Under Rule tab, click on button “Edit Bootstrap.ini” and begin modifying the Bootstrap.ini file:
Customizing Rules
For this example, we will modify the Rules with the followings:
[Settings]
Priority=Default
Properties=MyCustomProperty

[Default]
OSInstall=Y
SkipCapture=YES
SkipAdminPassword=YES
SkipProductKey=YES
SkipComputerBackup=YES
SkipBitLocker=YES
SkipRoles=YES
SkipApplications=YES
SkipBDDWelcome=YES
SkipLocaleSelection=YES
KeyboardLocale=0409:00000409
SkipTimeZone=YES
TimeZoneName=Central Standard Time

SkipComputerName=YES
SkipDomainMembership=YES
JoinWorkGroup=WORKGROUP

SkipSummary=YES
SkipUserData=YES
EventService=http://Server-1:9800
FinishAction=REBOOT
- [Settings]: Mark the beginning of the settings section.
- Priority=Default: Specifies the priority level for the settings defined in this file. Default,” meaning these settings will be applied unless overridden by more specific settings in other sections.
- Properties=MyCustomProperty: Defines a custom property named “MyCustomProperty,” which can be utilized elsewhere in the deployment process. We will talk more about creating Properties and how to use it in the upcoming post.
- [Default]: Defines default settings that will be applied to all deployments.
- OSInstall=Y: specifies that the operating system will be installed during deployment.
- SkippCapture=YES: Skips the capture of an image after deployment.
- SkipAdminPassword=YES: Skips the prompt for the administrator password during deployment.
- SkipProductKey=YES: Skips the prompt for the product key during deployment.
- SkipComputerBackup=YES: Skips computer backup during deployment.
- SkipBitLocker=YES: Skips BitLocker configuration during deployment.
- SkipRoles=YES: Skips the installation of server roles during deployment.
- SkipApplications=YES: Skips the installation of applications during deployment.
- SkipBDDWelcome=YES: Skips the BDD welcome screen during deployment.
- SkipLocaleSelection=YES: Skips the selection of locale during deployment.
- KeyboardLocale=0409:00000409: Sets the keyboard locale to English (United States).
- SkipTimeZone=YES: Skips the selection of time zone during deployment.
- TimeZoneName=Central Standard Time: Sets the time zone to Central Standard Time.
- SkipComputerName=YES: Skips the prompt for computer name during deployment.
- SkipDomainMembership=YES: Skips the prompt for domain membership during deployment.
- JoinWorkGroup=WORKGROUP: Specifies that the computer should join a workgroup named “WORKGROUP.”.
- SkipSummary=YES: Skips the summary page before deployment.
- SkipUserData=YES: Skips the collection of user data during deployment.
- EventService: Specifies the URL of the event service, which is used for logging and monitoring deployment events.
- FinishAction: Specifies the action to be taken upon completion of the deployment process. In this case, it’s set to “REBOOT,” so that the computer will be rebooted after deployment.
Below is a screenshot of all the rules we just defined:

Remember to click on “Apply” and “OK” to save the configurations.
Update the MDT Deployment Share
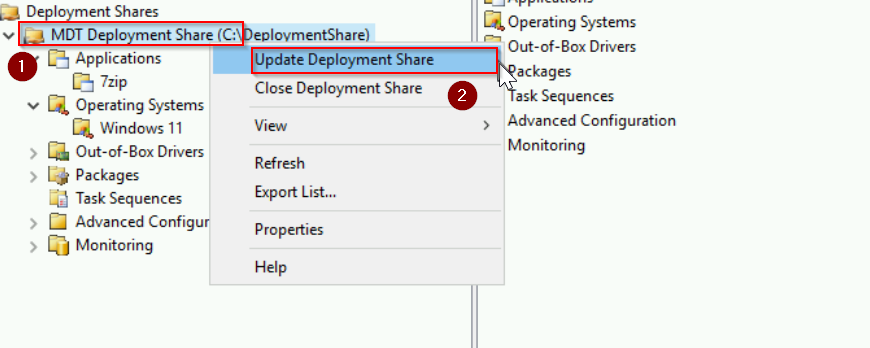
After making changes to the files like Bootstrap.ini or the Rules tab, it’s important to update the MDT deployment share. This ensures that the changes you’ve made are propagated and applied to the deployment process.
- Right click on “MDT Deployment Share” and choose “Update Deployment Share“
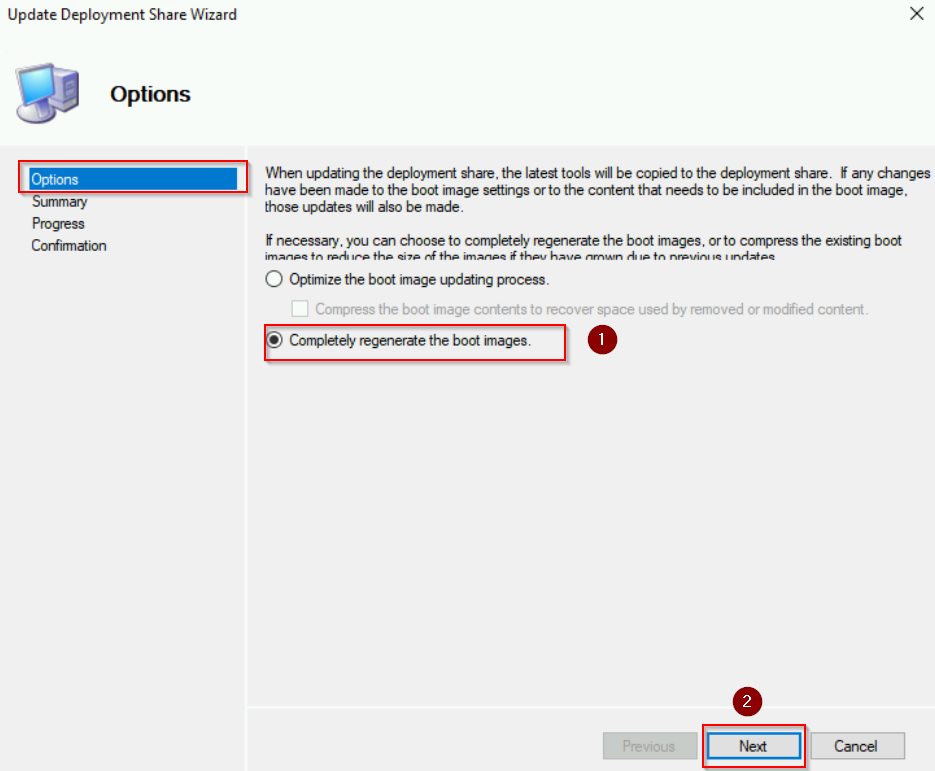
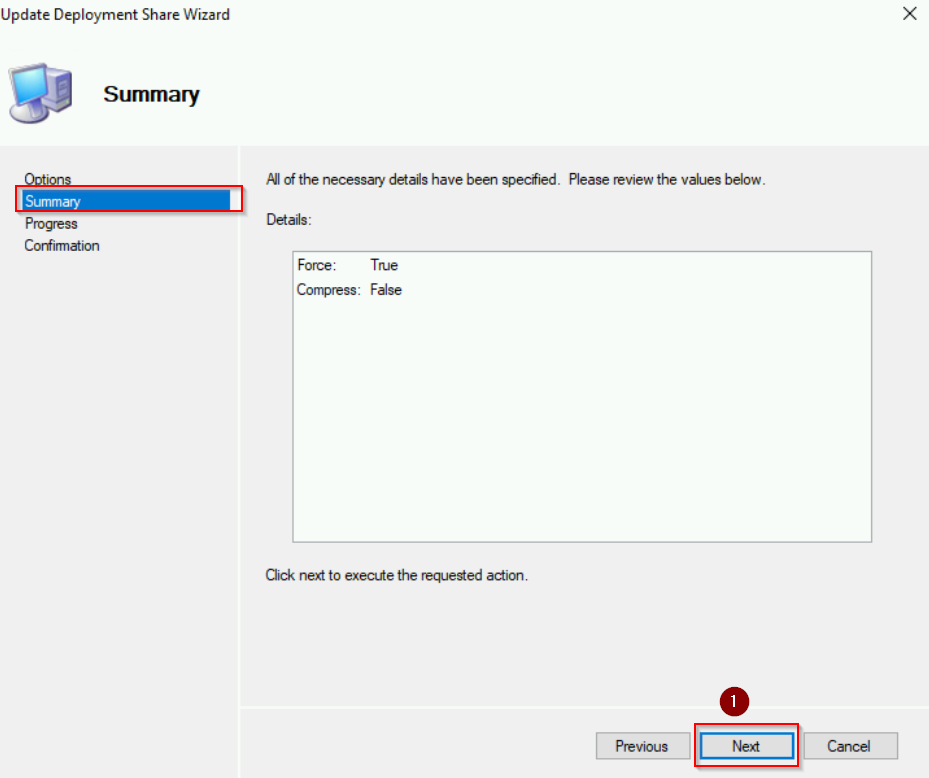
- Check “Completely regenerate the boot image“. Click “Next” and hit “Done” when finish
See screenshots below:
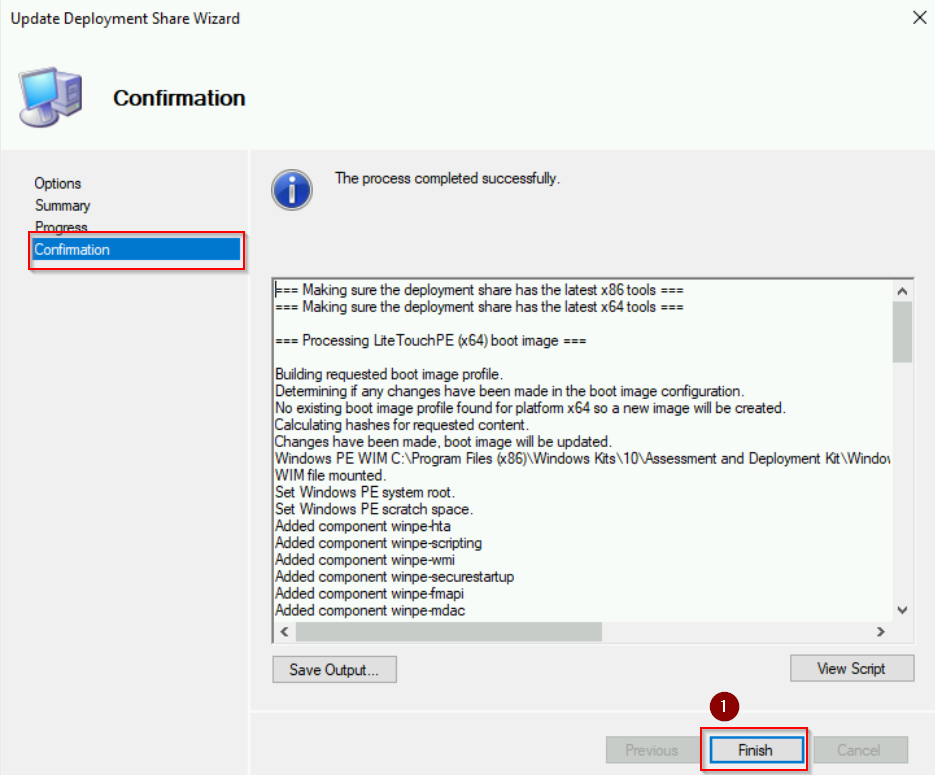
The system will generate a .wim file within the “DeploymentShare\Boot” directory. This .wim file can be imported into Windows Deployment Services to initiate the boot process.
Update the boot image into Windows Deployment Services
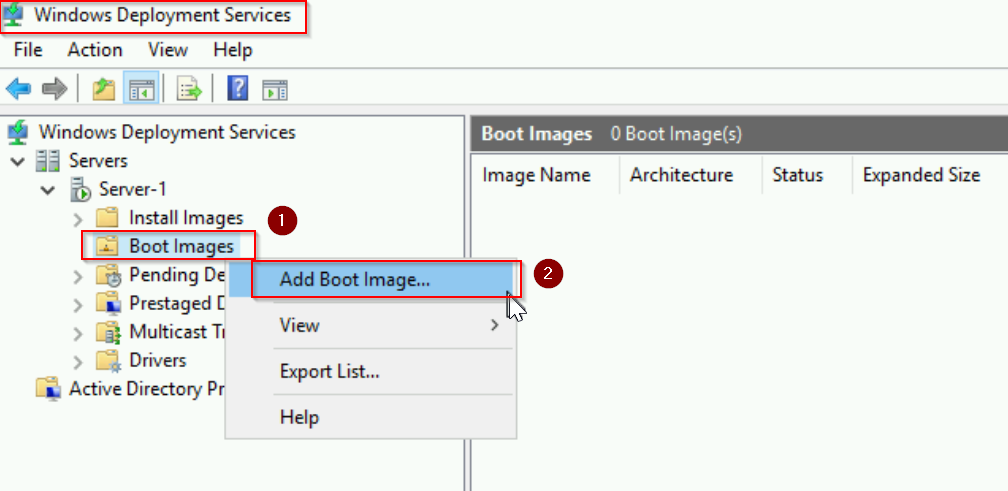
Go to Windows Deployment Services:
- Double click on Boot Images. Right click and choose “Add Boot Image…“
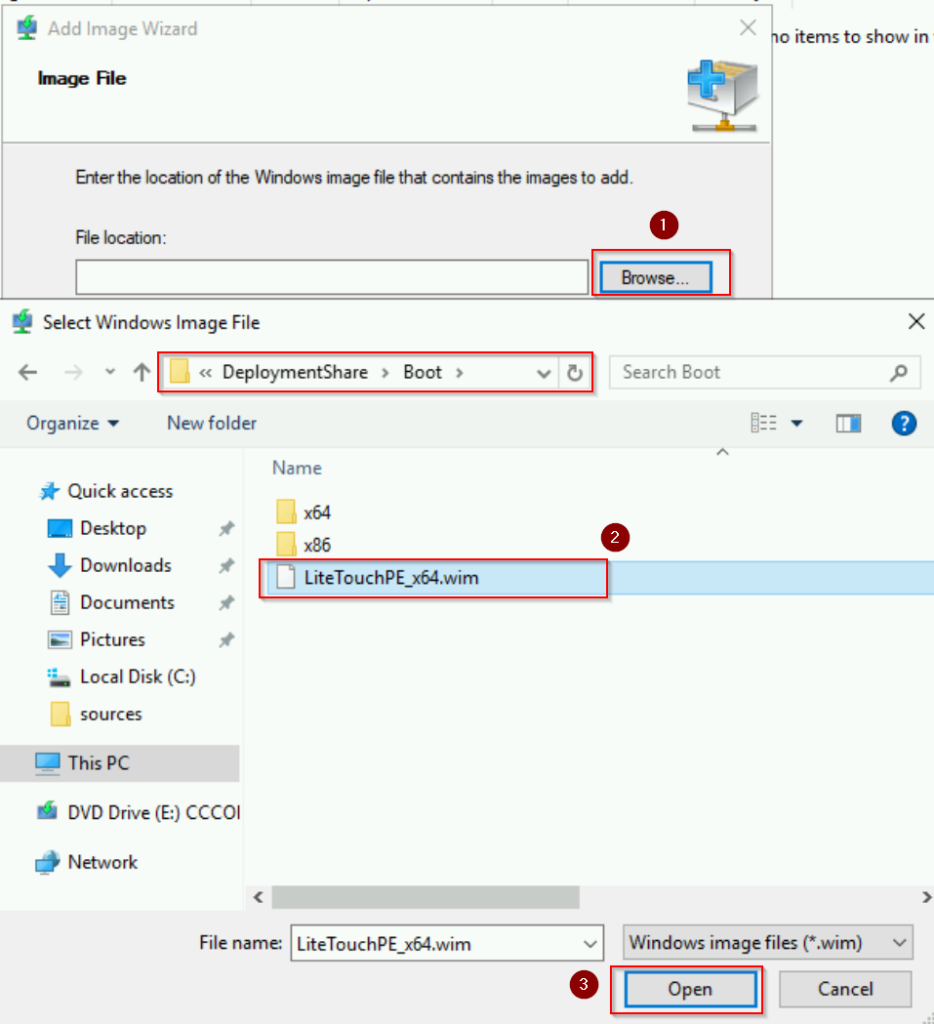
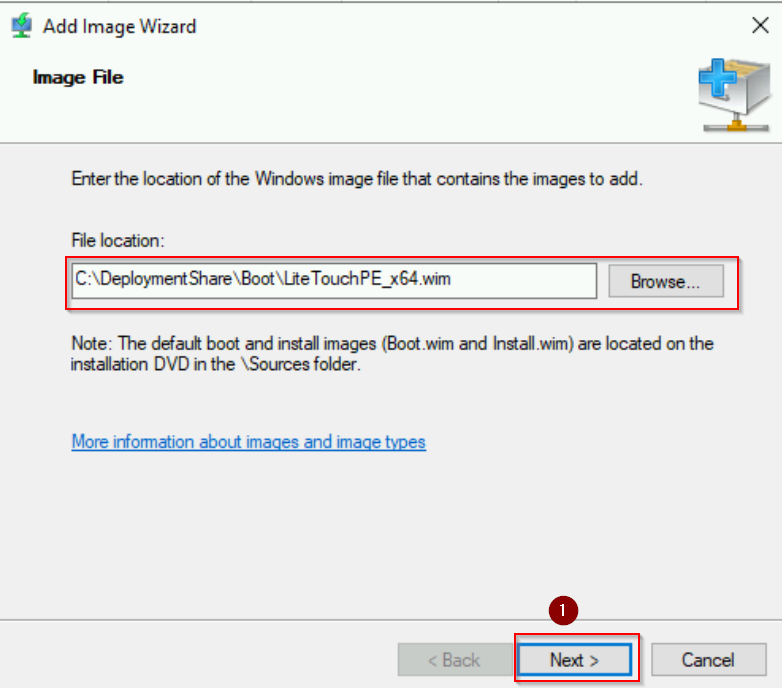
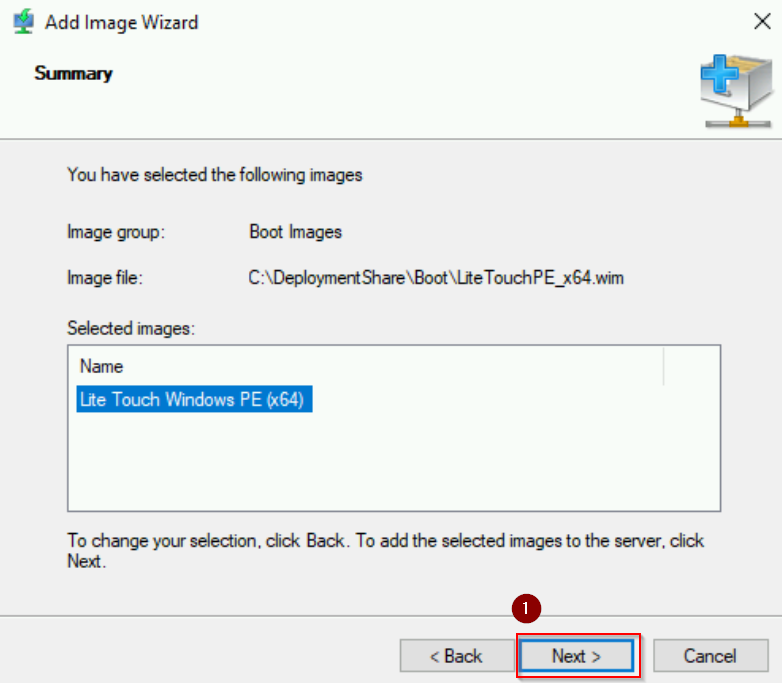
- Select “Browse” and choose the boot image, in this case it named “LiteTouchPE_64.wim“. Click “Open” and “Next“
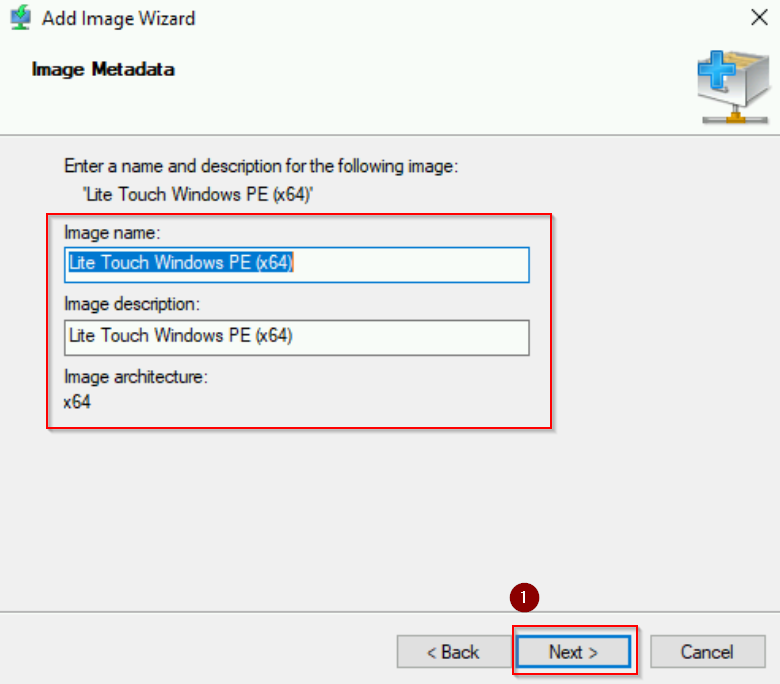
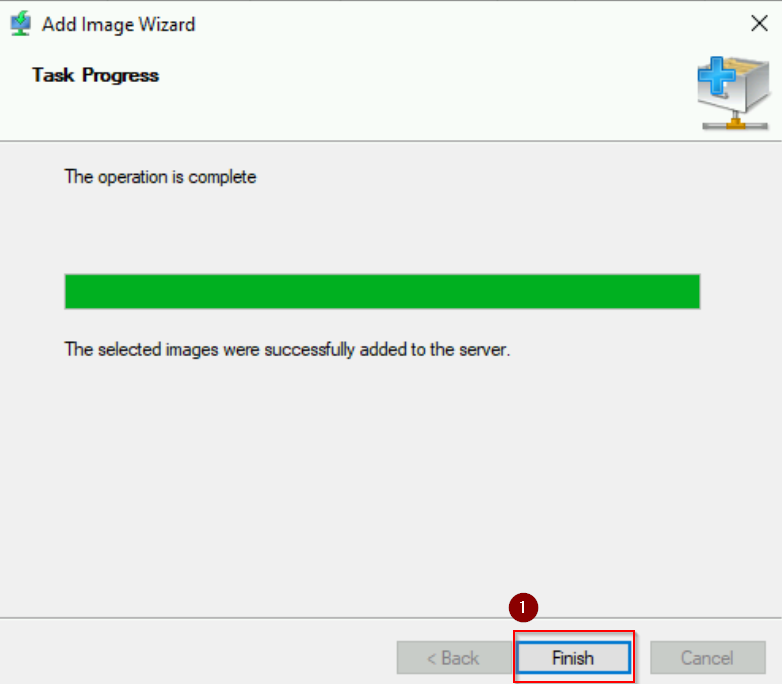
- Keep the Image name and description by default. Hit “Next” and “Finish” when done.
Here are the screenshots:
PXE Boot
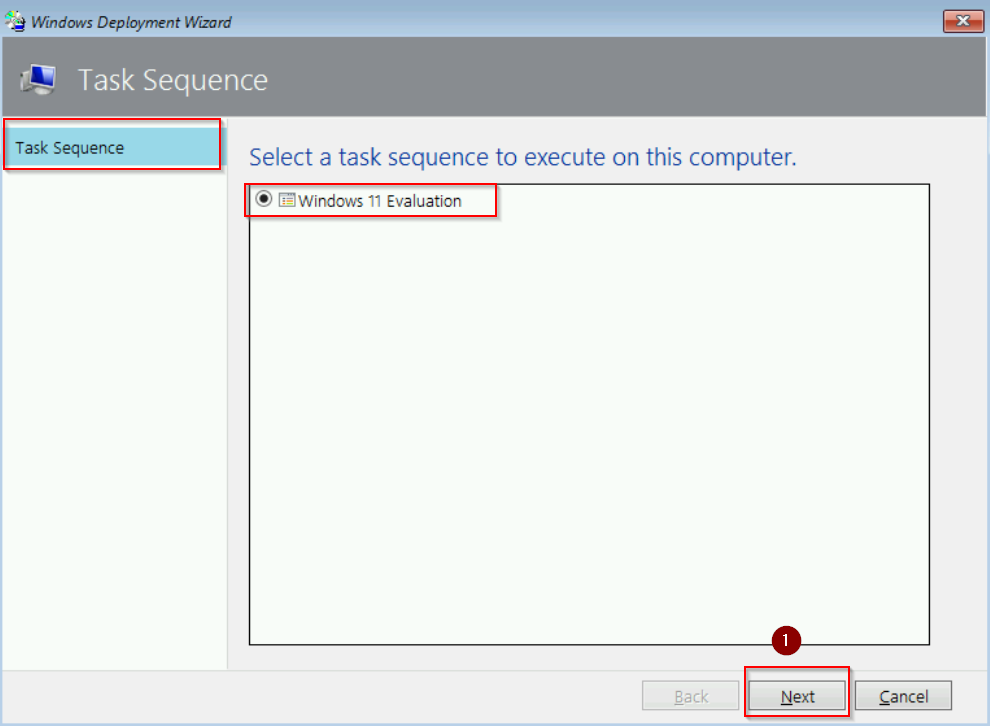
We will test by PXE boot the “PC-1” virtual machine. Start the VM and press “Enter” for network boot service.
As you can see, because we just made some modifications for the Rules and Bootstrap.ini file, MDT go straight to the Task Sequence Wizard, skipping all the steps such as putting credentials, welcome screen, setting computer name and time zone, etc. All you have to do is click on “Next” to begin the MDT process.
Conclusion
In summary, by modifying the Rules and Bootstrap.ini file under Deployment Share, you can significantly enhance control and fine-tune your MDT deployments. In addition, organizations can tailor the deployment process to their unique needs, improve efficiency, enhance security, and consistency across their environment.