Download VirtualBox
You can click here, it will leads you to VirtualBox website to download. In this post we use VirtualBox 7.0.12 platform packages on Windows.

Install VirtualBox
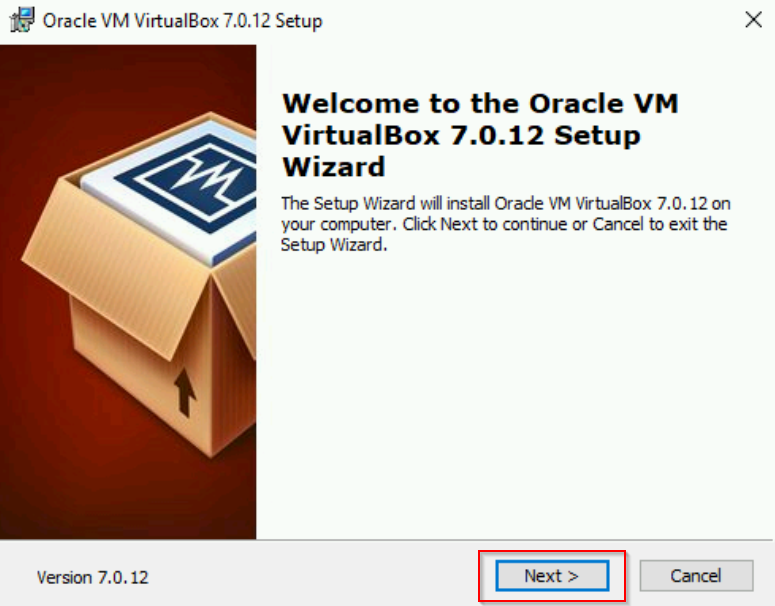
1. Open Oracle VM VirtualBox 7.0.12 Setup > Next
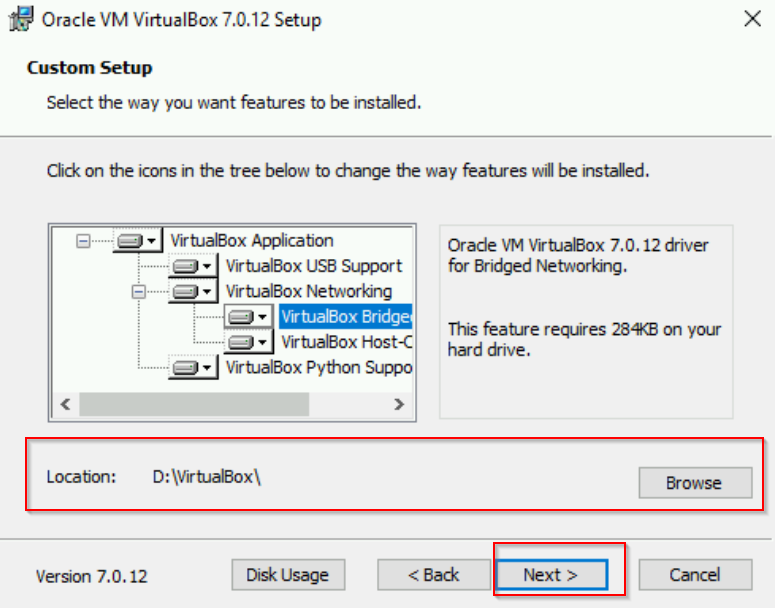
2. In the next window, choose Location you want > Next
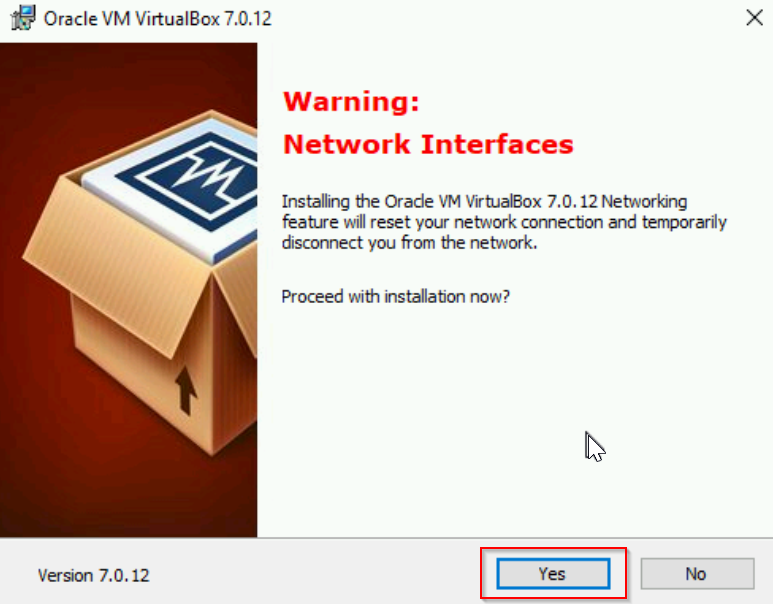
3. In the next step your network interfaces will be temporarily disconnect, and it is normal. Click on Yes
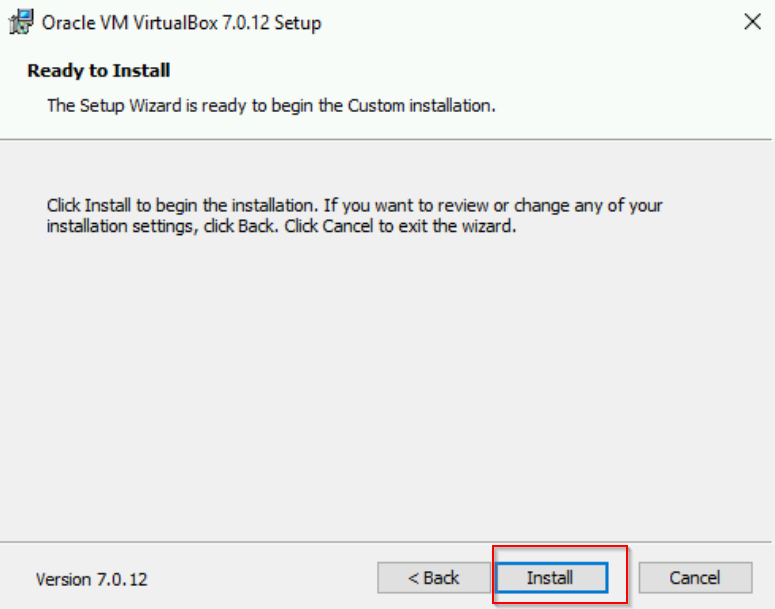
4. Click Yes to install Python Core package and the win32api bindings as well. After that, click Install

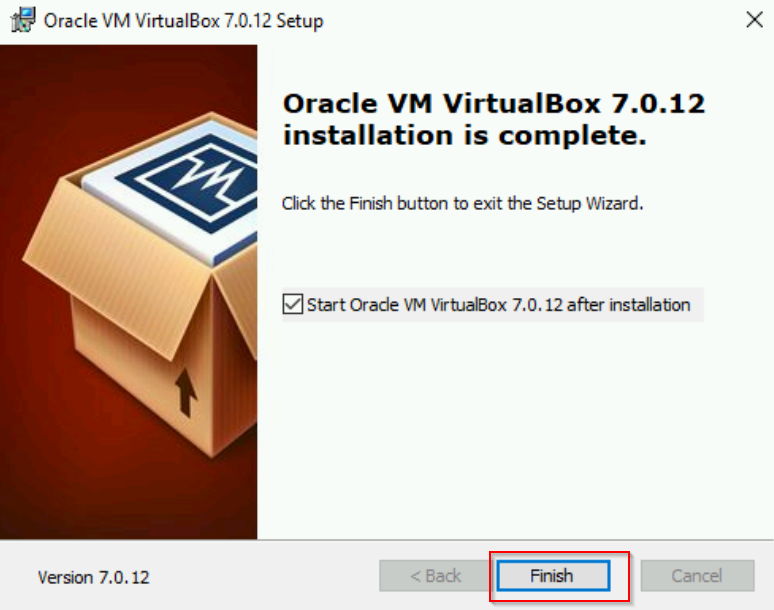
5. Click Finish after installation and then we are ready to deploy a virtual machine
Deploy a virtual machine
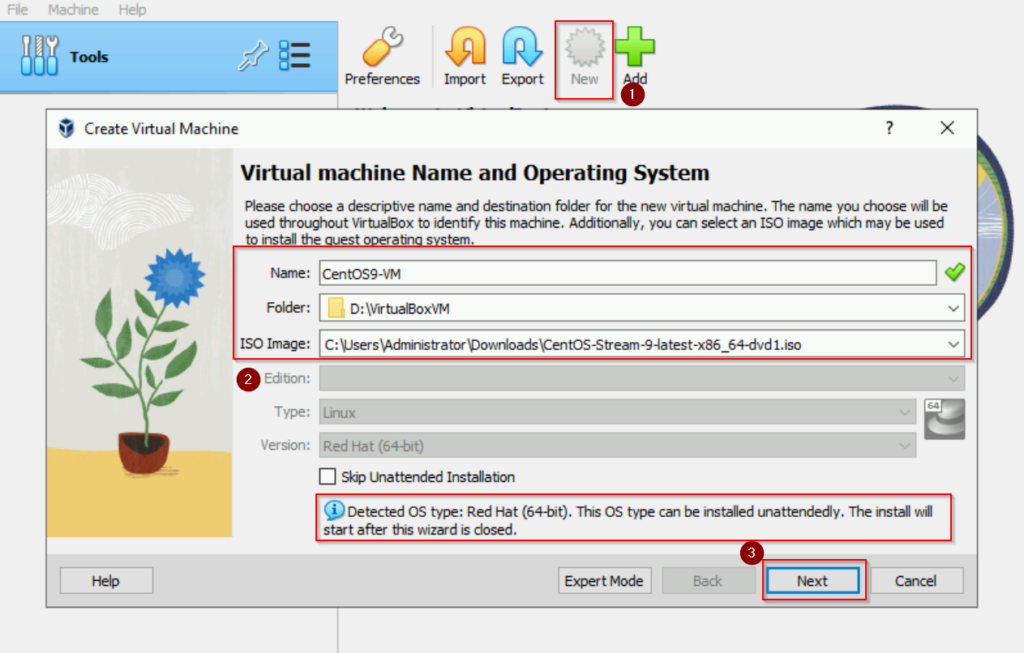
In this example let’s create a virtual machine with CentOS image. Open Oracle VM VirtualBox and click on New. Fill out VM Name, VM Location, choose the Image, Type and Version of the VM. Then click Next
Note that VirtualBox will auto detect the OS type so you may not need to choose type and version of the OS whenever you choose your ISO Image.
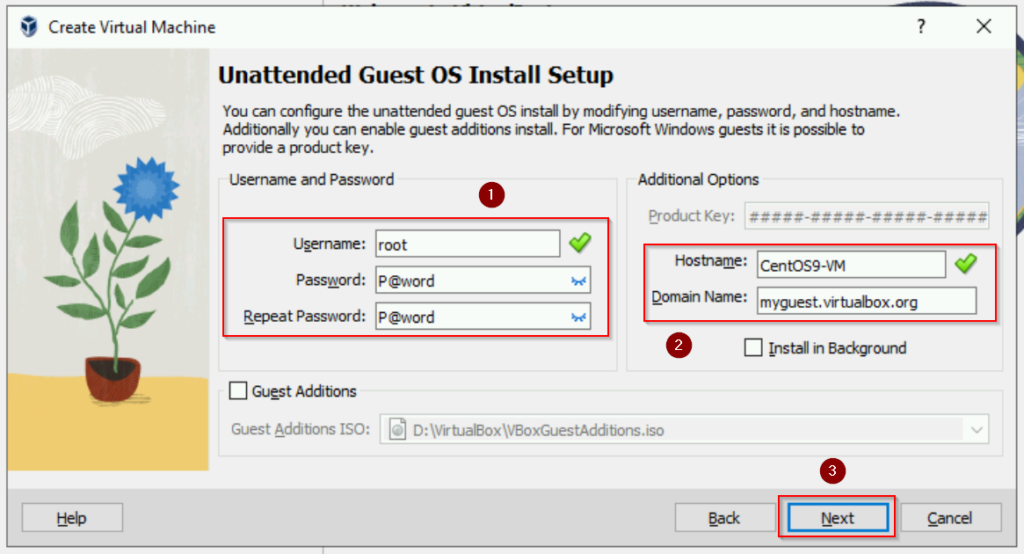
Next we will notice a new feature in VirtualBox 7.0.12 is called Unattended Guest OS Install Setup. This feature designed to automate the installation of a guest operating system (OS). VirtualBox handles the entire process, including the creation of your default user. This eliminates the necessity of manually navigating through the installation steps for the guest OS.
So, we just need to fill out all the required boxes and Click Next
In the next window, you can modify your Virtual Machine’s Memory and Processor. Click Next after choosing your desire virtual machine’ hardware.

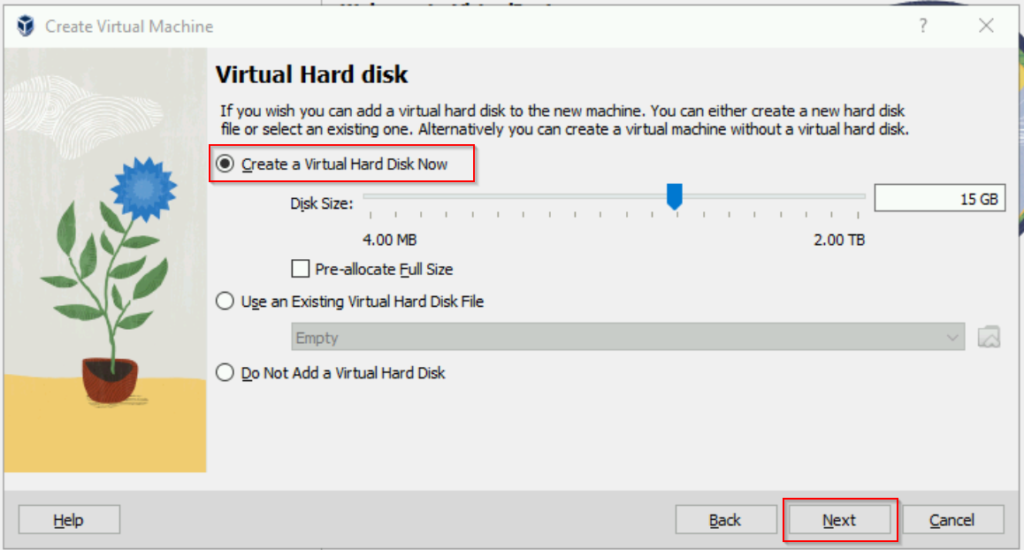
Next section we will create a Virtual Hard Disk for the VM. In this case, we choose Create a Virtual Hard Disk Now and click Next
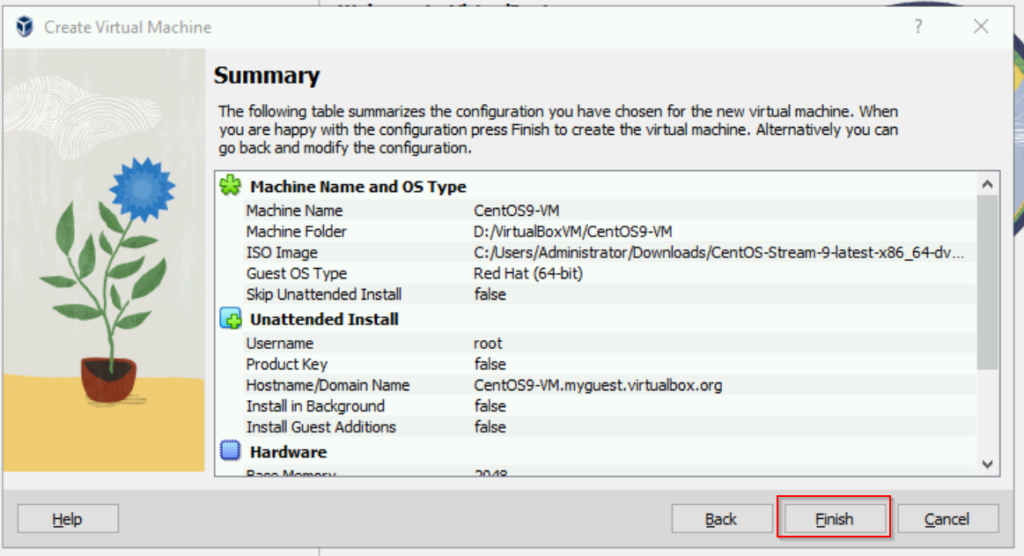
Next window is a Summary of your Virtual Machine information. Review and click Finish.
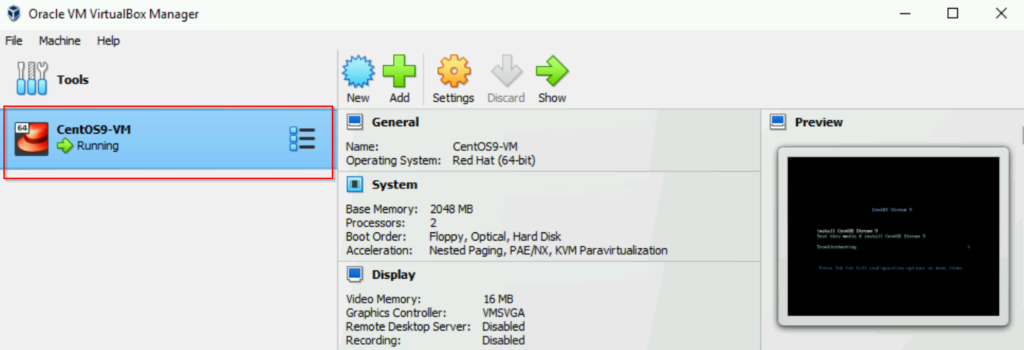
Now Start the VM and begin the Installation of CentOS Stream 9
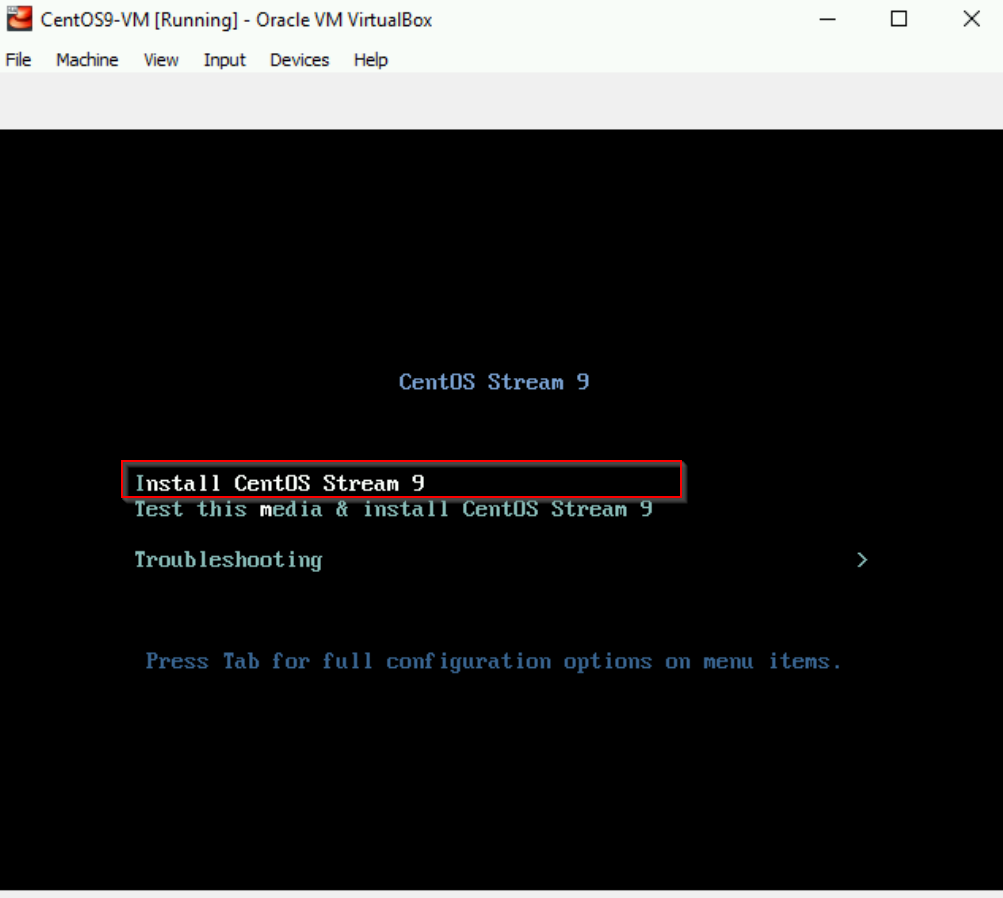
Use the keyboard arrow to select Install CentOS Stream 9 and hit Enter
Network Settings
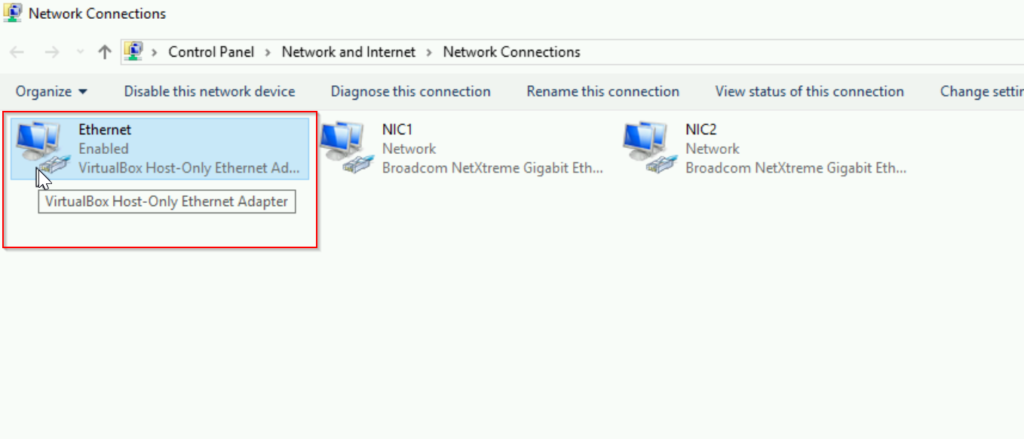
When you create a Virtual Machine (VM) within VirtualBox, it will automatically generates a virtual network adapter named “VirtualBox Host-Only Ethernet Adapter.” This network adapter establishes a shared network between the host and the VM. This means that the VM and the host machine can communicate with each other, but the VM cannot communicate with the Internet, it is a private network for the host and VMs.
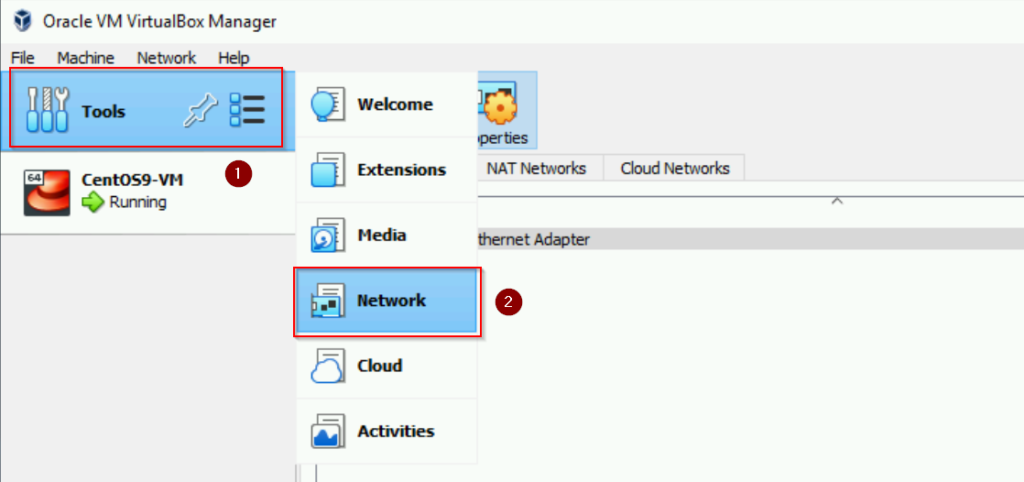
You can see the network adapter by going to Tools > Network
You can also check under Network Connections
If you click on the VM > Settings > Network, you can set different modes for the network adapter.
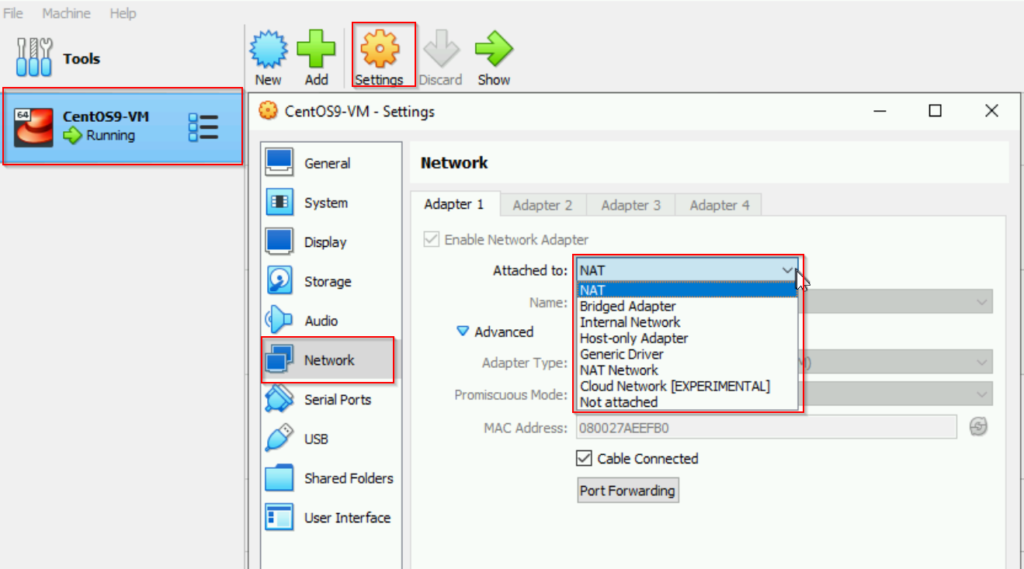
NAT: Default network setting for VirtualBox. It allows the VM to share the host’s IP address. The VM act as a separate device on the local network, the host acts as a gateway, translating the VM’s internal IP address to the host’s IP address when communicating with Internet (Outbound Internet Access). However, the NAT configuration doesn’t expose the VM directly to the external network. This means other computers on the same external network cannot initiate connections to the VM (Inbound Connections).
Bridge Adapter: This setting connects the VM directly to a physical network adapter on the host. The VM gets its own IP address on the same network as the host and it can communicate directly with the outside network, bypassing the host machine.
So with NAT, your VM accesses the Internet via the host machine, with a Bridged Adapter, your VM can get its own IP address and interact with the network as if it were a separate physical device on the same network as your host.
Internal Network: this setting creates a private network that is isolated from the host and external networks. VMs on the same internal network can communicate with each other.
Host-only Adapter: this setting creates a private network between the host and VMs. VMs and the host can communicate with each other but are isolated from external networks.
Generic Driver: this setting is a placeholder for any third-party network adapter drivers you may have installed. It allows you to use specific drivers provided by third-party vendors
NAT Network: this settings is similar to NAT but allows for more control over the network configuration. It provides a private network for VMs, and the host acts as a router, providing internet access.
Cloud Network: this is a newer feature that allows VMs to create and manage cloud resources. It is useful for scenarios where VMs need to interact in a cloud-like environment.
Conclusion
This quick guide provides a walkthrough on installing VirtualBox 7.0.12 and deploying a Virtual Machine. By following the step-by-step instructions, you can set up your Virtual Machine in a correct way to enhanced productivity and efficient utilization of resources.